Just as stated, it occurs due to problems in the update files. You can easily fix it by removing the downloaded update components. This allows your system to download them again, but this time without errors. For more serious cases, you might need to perform an in-place repair to overhaul all system file errors. In this article, we mention the factors responsible for this error along with the most effective solutions.
Causes of 0x80073712 Error
Solutions for Error 0x80073712
There are a few possible solutions to resolve this error. Please try the fixes mentioned below.
Corrupted temporary Windows Update files. Corrupted or missing system files. Power failure while installing updates. Malware infection.
Make sure to back up any vital data on an external drive before trying out the following solutions. You can also back up your files on cloud storage like Google Drive, OneDrive, etc. Before you begin, properly restart or shut down and turn on your PC. Also, please check your internet connection to prevent update errors due to connectivity issues.
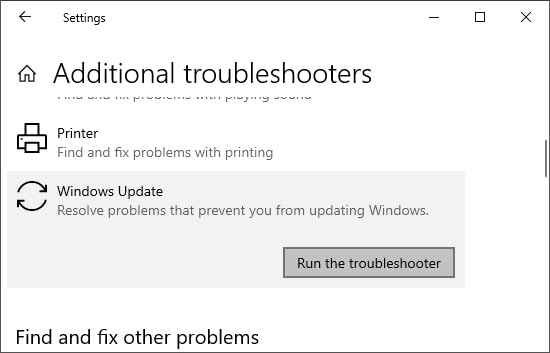
Windows Update Troubleshooter
It is possible to fix most Windows Update errors with its Troubleshooter. Use this utility before trying out any advanced solutions. Here are the steps to launch this Troubleshooter: Restart your PC and check if the Troubleshooter fixes this issue. If not, move to the next solution.
Repair System File Corruption
One reason for this update error might be corruption in the necessary system files. You can use the System File Checker (SFC) and the Deployment Image Servicing and Management (DISM) to scan and repair corrupt files. Follow the directions below to use these features through the elevated Command Prompt: If the SFC finds but can’t fix the corrupt files, you might have to replace the corrupt files manually. To know more about this issue, check out our article on Windows Resource Protection Found Corrupt Files.
Delete Pending.xml File
Your system creates a Pending.xml file if an update requires any further actions after a reboot. Your system checks this file and performs relevant actions after the restart. Sometimes because of this file, it causes an endless loop of update installation which can’t complete because of this error. You can delete this file so that Windows builds a fresh update. Before you can remove or rename this file, you’ll need to take its ownership. But sometimes, you can’t delete the pending.xml file even after taking ownership. So, it is better to use this method in safe mode to bypass this issue. Here are the steps to delete the pending.xml file: Restart your PC and try updating your OS again.
Reset Windows Update Components
You can fix most Windows Update errors by resetting the update components. Generally, you perform the following activities during this method: Follow the instructions below to execute these processes:
Scan for Malware
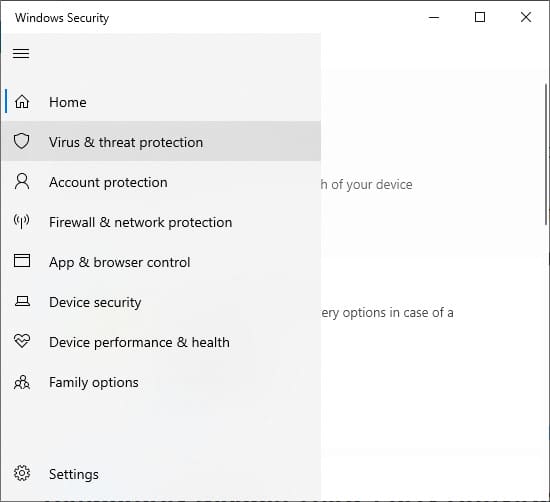
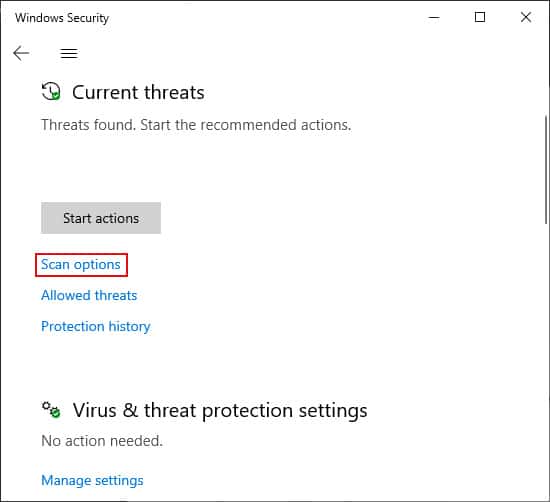
Some malware threats can infect the update files or tools used to install those files. It’s best to enable real-time protection on your antivirus program to prevent such issues. Scan your computer for threats if you encounter this error. We also recommend enabling cloud-based protection on your antivirus applications. Follow these steps to scan your computer with the Virus & Threat Protection,
Temporarily Disable Third-Party Security Software
Another possible solution is to temporarily disable any third-party antivirus or firewall before retrying the update. Some security software can cause such errors while installing updates if they falsely recognize them as threats to your system. We also recommend using antivirus programs compatible with Windows to prevent this issue. The software manufacturer’s website should provide information about any compatibility issues.
In-place Repair Upgrade
An in-place repair reinstalls the Windows OS over your previous installation without affecting your application and user files. This will repair your corrupted system and remove all the updates installed. You can use an ISO file or USB installation media for this process. However, we recommend using the ISO file over the latter option. Keep in mind that the installation software must contain the same build as your current system version for the repair to succeed. Also, make sure that the base language of the installation media matches that of your system build. After the repair, log in to your account and perform windows update.
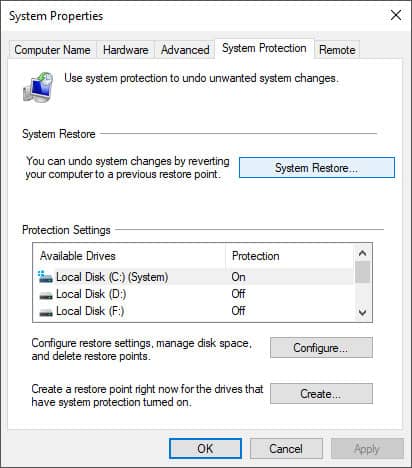
Perform System Restore
If the previous methods don’t work, you can try restoring your system to a previously created restore point. You can only perform a system restore if you have enabled it and also set up a restore point. Here’s how you can perform a system restore:
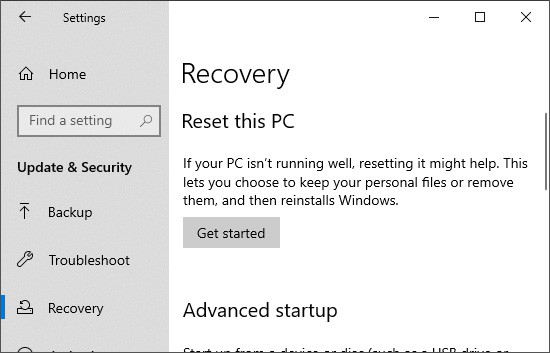
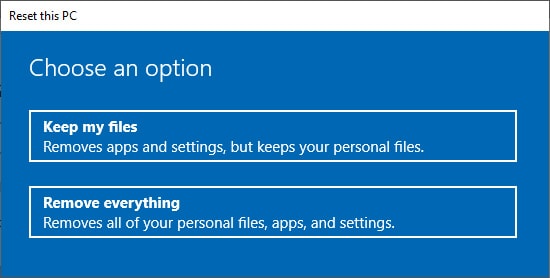
Reset Your PC
This is the last resort if all previous methods prove useless and you don’t have an appropriate restore point. It will restore your PC to the default factory settings and remove all errors from your system. Please follow the instructions below to perform a system reset: