If there is too much dust and dirt build-up, your heatsink will not be able to dissipate heat normally. Your CPU will start to thermally throttle. Your games will lose fps, sudden unpredictable stutters will occur, and in some cases, your PC might crash suddenly. To avoid these problems, you need to clean your heatsink periodically. But since it’s a CPU-attached component, you might not know how. That is why, we have written this article for you so that you can clean your heatsink properly.
Things to Consider Before Starting
Cleaning the Heatsink
Cleaning the heatsink is a multi-step process. You will first remove the heatsink, clean it’s components individually and thoroughly, re-apply the thermal paste, then reinstall the heatsink. Here are detailed steps for each process involved:
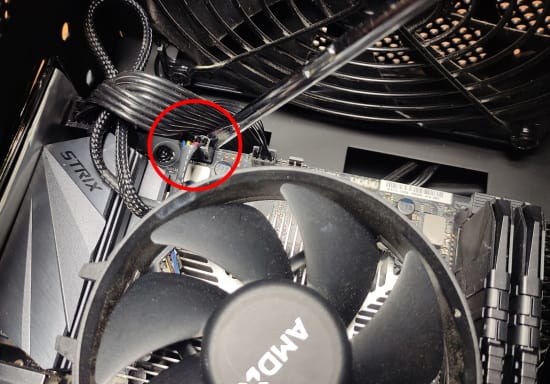
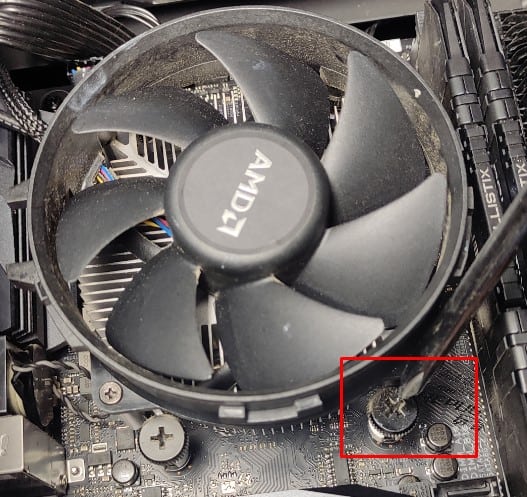
Remove the Heatsink
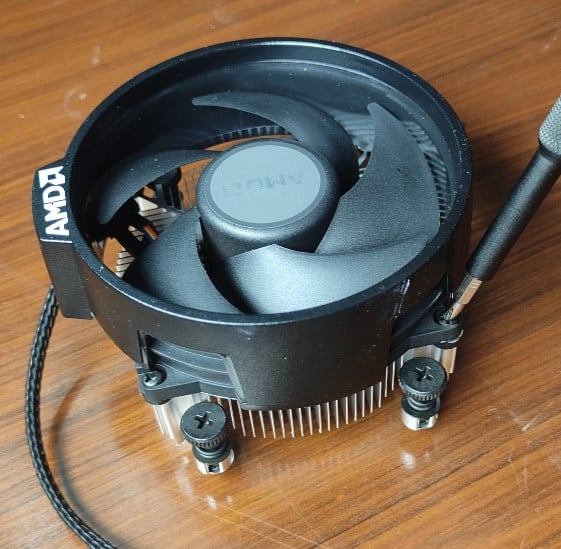
Remove the Fan From the Heatsink
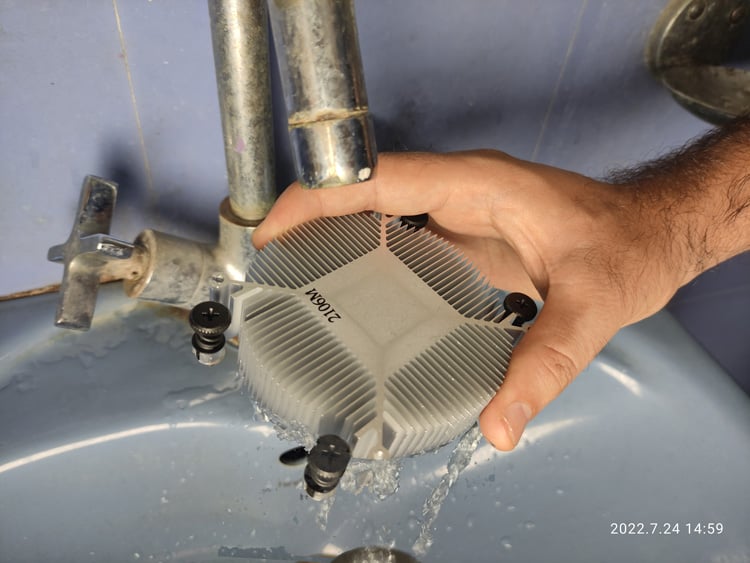
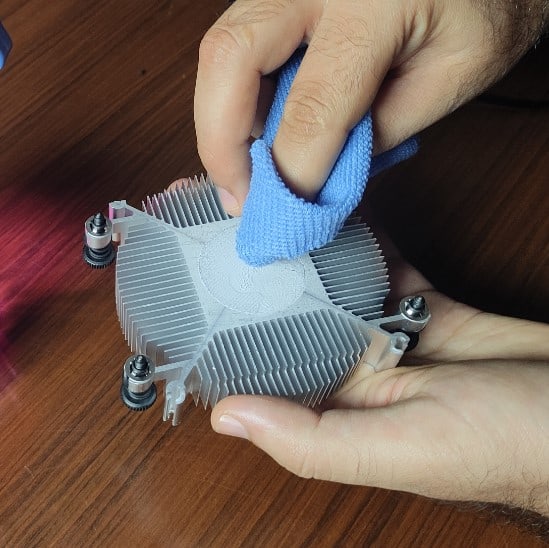
Clean the Heatsink
If you clean and maintain your PC regularly, including the heatsink, then there will not be much dirt build-up. However, if the last time you cleaned it has been a while, there can be a thick layer of dirt on top of the heatsink, on the fan, as well as on the inside edges of the heatsink.
For regular cleaning, you might be able to get away using compressed air to blow the dirt away. Spray the compressed air from multiple angles and do it in quick short bursts so as to avoid damage to the CPU fan and other delicate components.If your heatsink has a thick layer of dirt built-up all around as well as inside the fins, then you can clean it by putting just the aluminum block under a tap of running water. Make sure to detach fans and other electrical components first. Use a brush to scrub gently if needed. When the heatsink is sufficiently cleaned, let it dry for a while.If it’s been a while since you last cleaned the heatsink, it is possible that in addition to dirt build-up, you might also find sticky gunk-like substances lining the heatsink. In such a case, you will need to clean the heatsink (just the aluminum block, remove fans and electricals first) with soap water.Inspect the inside of the fins to make sure that they are cleaned thoroughly. If there is still some dirt left over, grab some q-tips, douse their cotton ends in isopropyl alcohol, and push them inside the fins to clean the residual dirt.
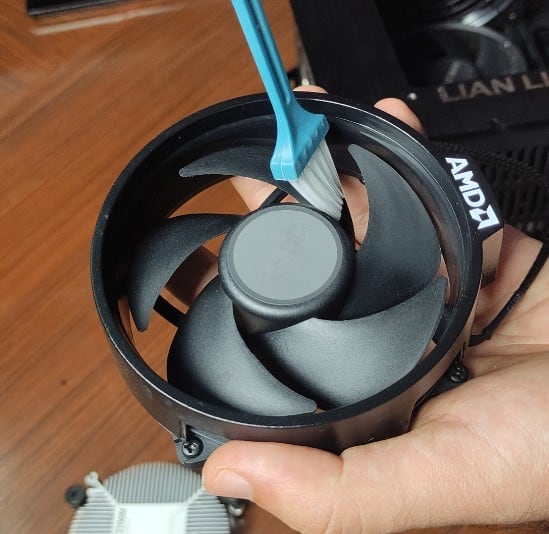
Clean the CPU Fan
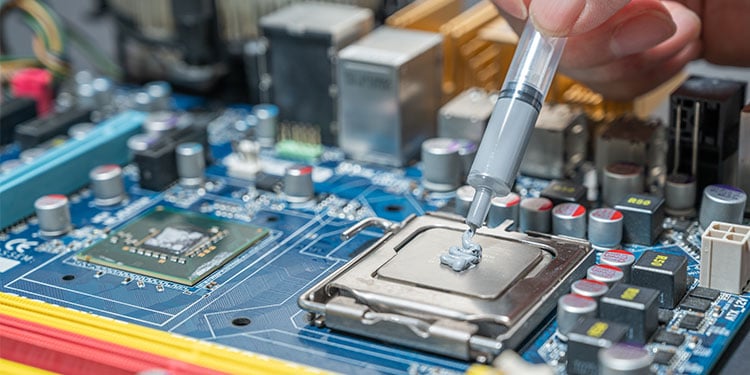
Reapply Thermal Paste
Make sure that the heatsink is thoroughly dry. Then, reassemble the heatsink and prepare thermal paste for application. If you are using a cooler for Intel CPU, first make sure to reset the four pins by rotating them 90 degrees clockwise. You’re done! You’ve successfully cleaned the heatsink properly, and all your PC now needs is to close back the back panel and power it back on. Please enjoy improved performance with your