There are multiple settings you can change on Netflix to improve the quality of your playback. This can help you better stream high-quality shows, but it can also help you make the most of subpar bandwidth to get the highest quality possible.
5 Netflix Quality Settings to Improve Content Playback
There are multiple steps you can take to improve Netflix quality.
Stream Content for One Minute
The first step you should take is to simply give Netflix time. The service might stream at a lower resolution for up to one minute before switching to the higher quality video stream. Give Netflix sufficient time to buffer and load the content, but if the quality hasn’t improved after 60 seconds, move on to the next steps.
Check Your Wi-Fi Speed/Connect Via Ethernet
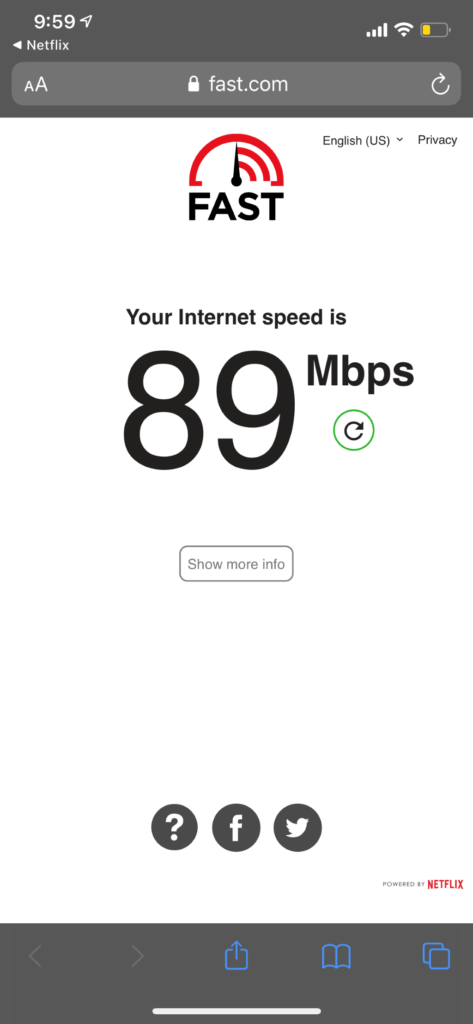
You might have up to a certain speed available from your ISP, but that doesn’t necessarily mean you’re getting that speed. Some routers have limits on how much bandwidth they transmit through a given connection. The further your device is from the router, the weaker the Wi-Fi will be. If you are experiencing problems with Netflix playback, try connecting your device through Ethernet. Ethernet connections are steadier and allow more bandwidth than some routers. If you want to watch content at 720p, you will need a minimum internet speed of 3 MB. HD resolution requires a minimum of 5 MB, while 4K content jumps dramatically to a minimum of 25 MB required. You can perform a Netflix speed test from within the app on most browsers and mobile devices. On a mobile device, this takes you to a separate website.
Switch to a Different Browser
The problem might lie in your browser. Not all browsers allow the same speed, and some cap the available video quality. Compare your browser to the maximum video quality allowed:
Google Chrome: 720pFirefox: 720pOpera: 720pSafari: 4KEdge: 4K
Note that there are hardware restrictions on displaying 4K content from both Safari and Edge. You will need macOS 11 and a 2018 Mac or a 4K display and a 7th-generation Intel Core CPU, plus the latest version of Windows respectively.
Change Your Playback Settings
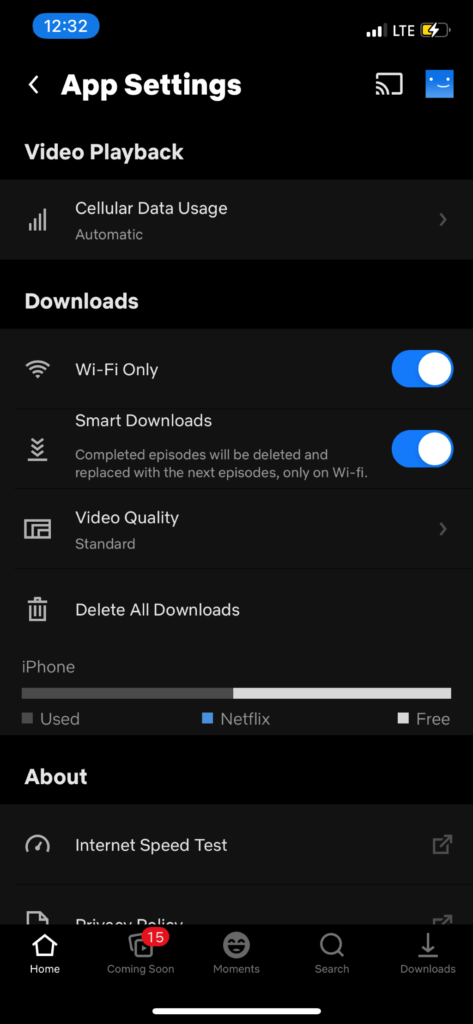
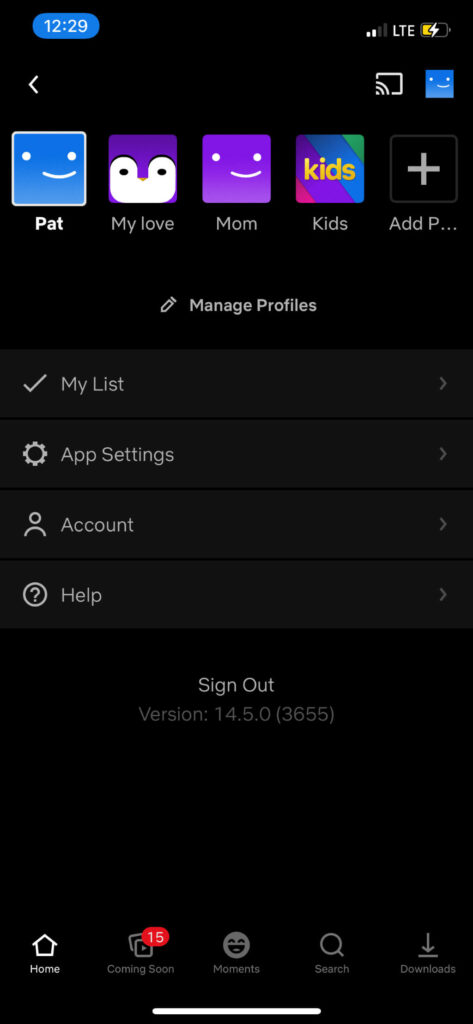
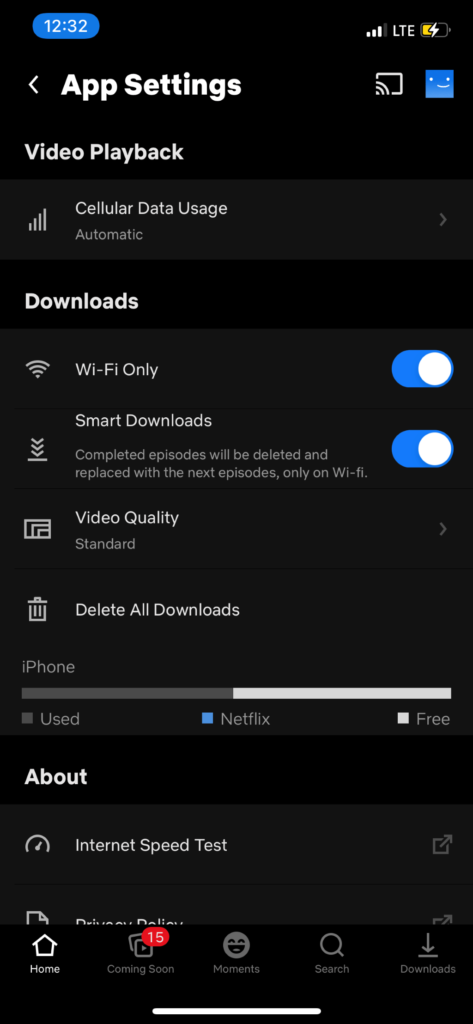
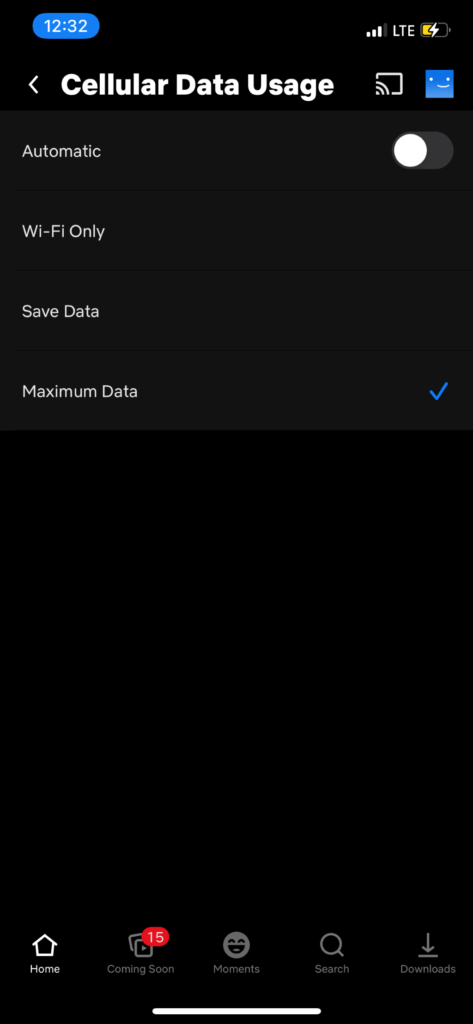
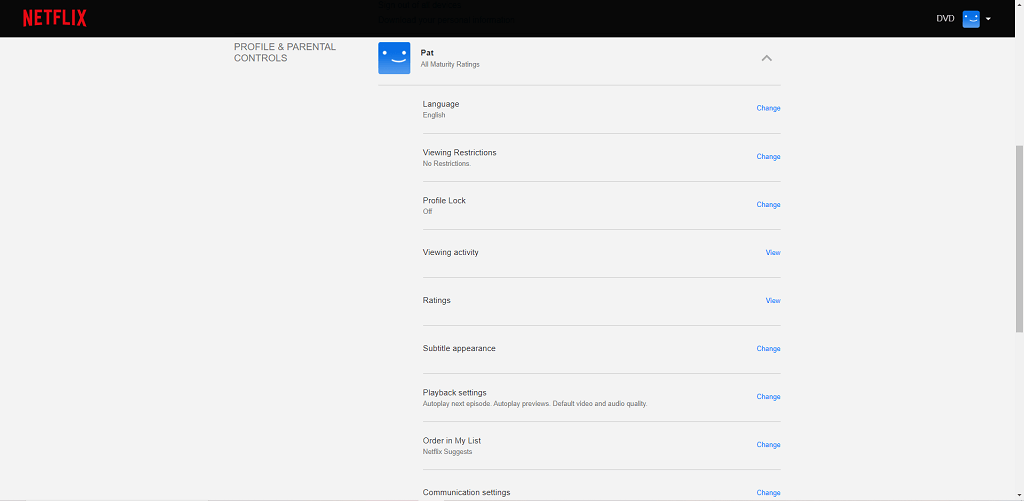
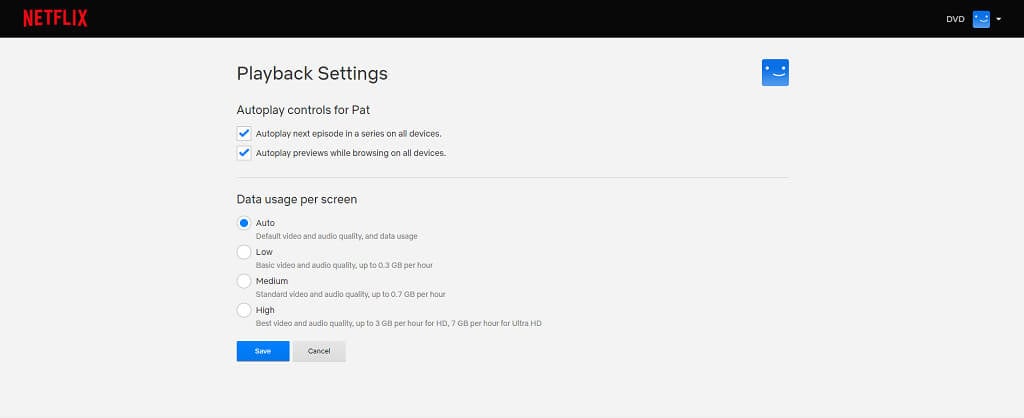
Netflix sets playback settings based on available bandwidth and other factors. For example, the mobile app for Netflix tends to restrict data usage to prevent users from going over their cap. You can change these settings to give yourself more bandwidth and achieve a higher quality stream. On iOS, you can adjust this from within the Netflix app. Doing this guarantees that Netflix will use as much data as it needs to stream content on your mobile device, but only choose this option if you have unlimited data (or unlimited money to pay all those overage charges.) It will burn through mobile data at a fast pace. Be aware that you also need a decent cell signal to stream higher-quality content. If you’re in an area with poor reception, your stream will be of lower quality. On a web platform, you can adjust these settings in a similar way. Netflix uses dramatically more bandwidth for high-quality video, but you won’t run into as many playback issues. Just be aware that you might burn through as much as 7 GB per hour.
Change Your Plan
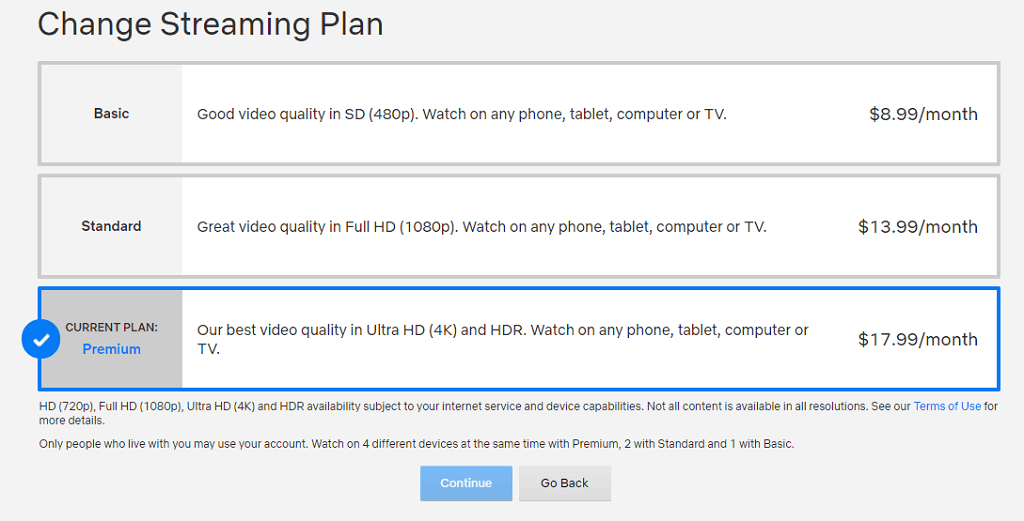
You might not have access to higher-quality streams because you don’t pay for the right plan. Netflix has three plans: Basic, Standard, and Premium. The Basic plan is $8.99 per month, but caps streaming quality at 480p on any device. The Standard plan is $13.99 per month for full-quality 1080p video. The Premium Plan is the option you want for ultra-high-definition video and HDR, at $17.99 per month. You should also note that not everything on Netflix is available at higher resolutions. Some content is restricted to standard or high definition, with no 4K option available. Don’t feel like you’re stuck with poor-quality content, or that you have to just put up with stuttering and constant buffering. If your Netflix playback quality isn’t what it should be, use these Netflix quality settings to correct the problem.

